
By ONSRA
Every ONSRA board ships ready to ride: the remote is already paired and the motors are calibrated in our factory. But sooner or later most riders want to change something – a new remote, fresh tires, a different wheel setup or new direct drive covers. This guide collects our official ONSRA how-to videos in one place, with the steps exactly as we show them in the videos. If your board or remote differs from the one in a video, follow the video for your model, check the ONSRA user manual page or contact our service team before you start.
Before any job: charge your board, put it on a stand or upside down on a soft surface so the wheels can spin freely, and protect your table – grip tape scratches.
How to Connect / Pair Your ONSRA NX Remote
When you get your board, the remote is already connected. You only need to reconnect if you get a new remote or something goes wrong. The video shows the NX remote with a BLACK Carve 3. Note: the NX remote cannot be connected to older boards such as the BLACK Carve 2.
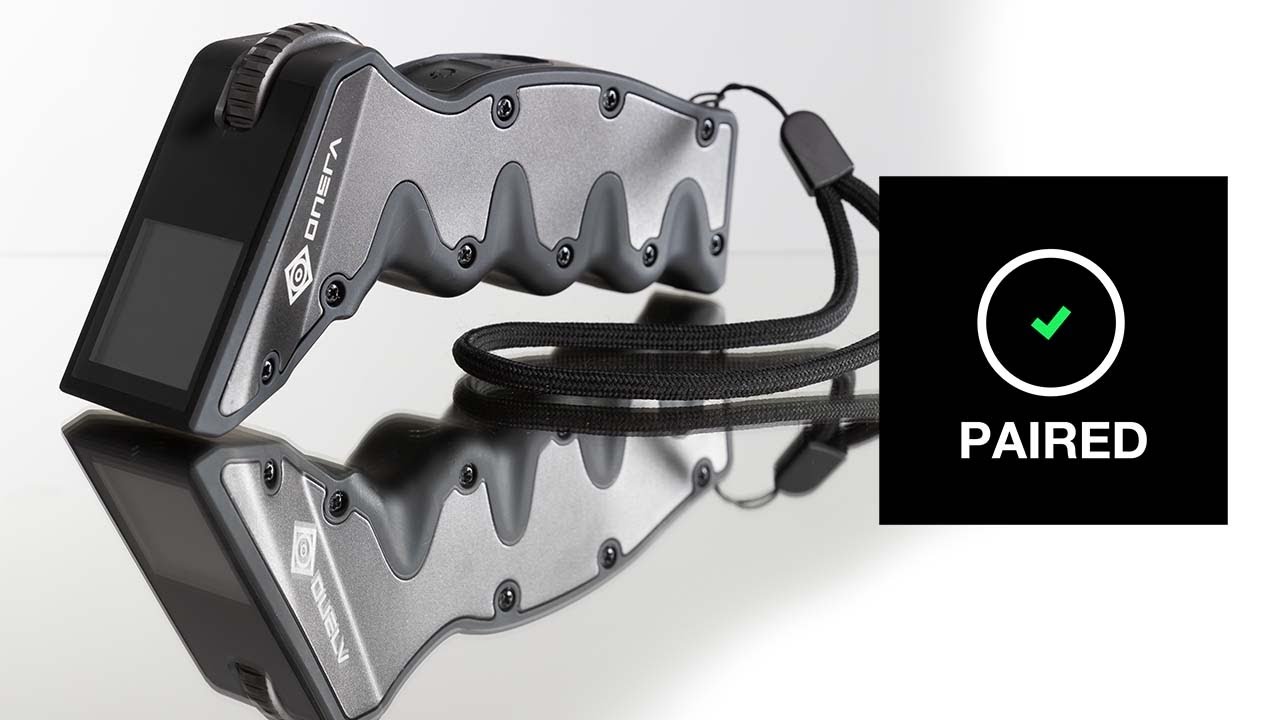
Video: ONSRA NX remote controller – How to Reconnect
Step by step (from the video)
- Turn everything off. To switch the remote on or off, hold its power button for two seconds. The light on the board must be off.
- Hold the power button on the remote for five seconds.
- Choose two-wheel drive – the remote now tells you what to do.
- Hold the power button on the board for five seconds. The remote shows "paired".
- Set up the board on the remote: units (km/h or mph), drive type (belt or direct drive), gear ratio (wheel pulley divided by motor pulley – 3.2 on the setup in the video), wheel size (115 mm in the video) and motor poles: 7 on belt drive, 10 on direct drive. Please set the motor poles correctly.
- When the blue light on the board stays blue, it is connected.
Tip from our calibration video: start the pairing on the board first and then the remote – that makes it easier to hit the timing.
Remote settings menu and Auto Reverse
With the NX remote you don't need to reconnect to change settings. Hold the mode button for five seconds to open the menu. There you can change wheel size, units, motor type, brake strength per mode, speed per mode and turn Auto Reverse on or off. Press the power button to select, the mode button to go back. Auto Reverse only works below about 1 km/h and uses the Eco mode speed limit (about 8 km/h backwards in the video).
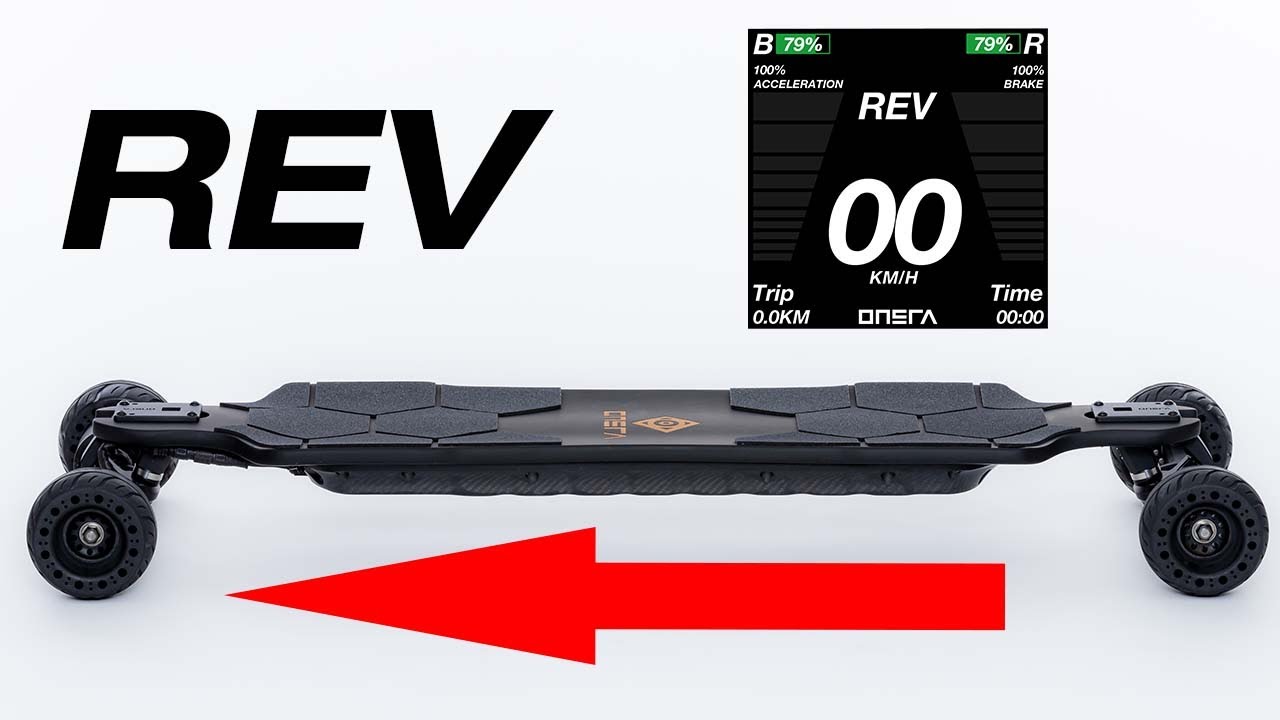
Video: How to AUTO REVERSE – ONSRA Electric Skateboards
Need a new screen or cover for your NX remote? See the NX Remote LCD Display Replacement Kit.
How to Calibrate Your ONSRA Electric Skateboard Motors
Don't calibrate out of nowhere. Calibration is done per board in our factory. Only do it when you get a new motor, a new ESC, or when the ONSRA team tells you to. A small difference between the two motors at very light throttle with the board in the air is normal – it never shows when you stand on the board.
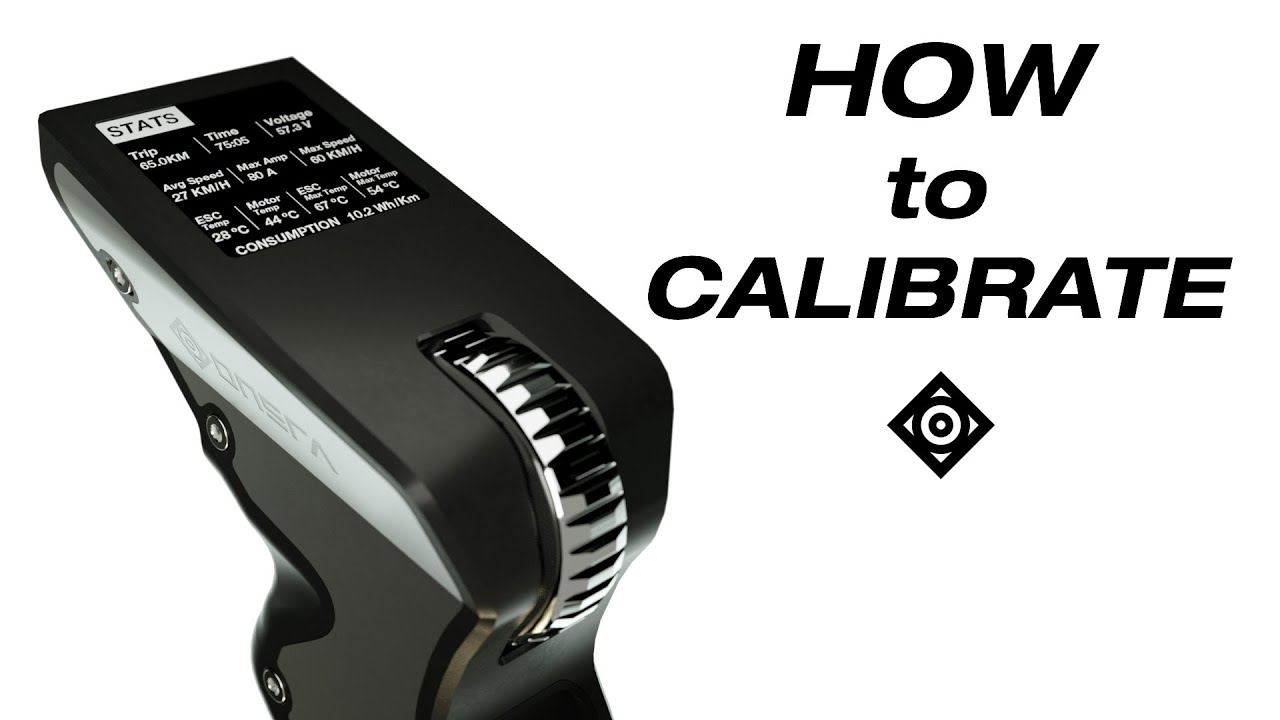
Video: Guide to Calibrating Your ONSRA Electric Skateboard
Step by step (from the video)
- Make sure the wheels and motors can roll freely and touch nothing – otherwise the calibration won't be done properly.
- Turn everything on.
- Turn only the board off.
- Turn the board back on and click the power button three times.
- The board makes an "alien" sound and the motors spin – that is the calibration running.
- We recommend reconnecting the remote afterwards (see pairing above).
Hidden Factory Settings on the NX Remote
The NX remote has a hidden factory menu. It works with the NX remote and the ESC it ships with (BLACK Carve 3 PRO, VELAR and every other board with the NX remote). This is not a "reset to defaults" button – it is a menu for technical settings that you should normally leave untouched.
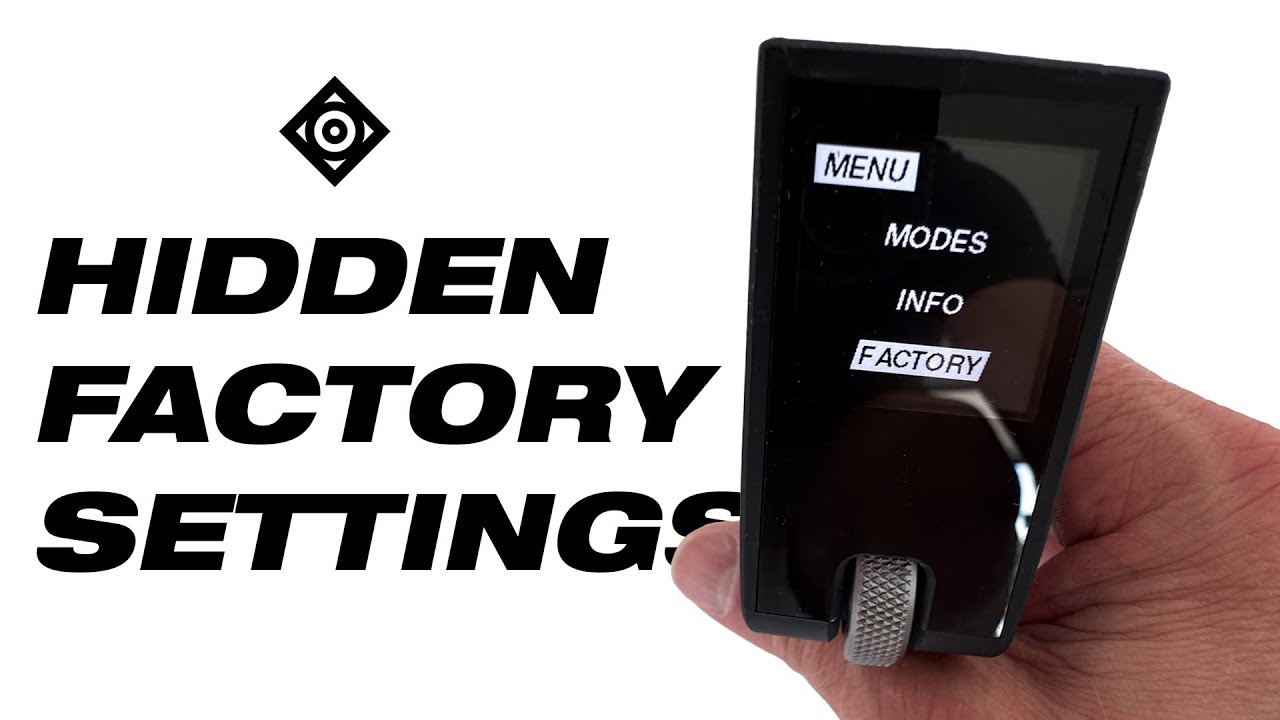
Video: ONSRA NX – Hidden Factory Settings
Step by step (from the video)
- Turn everything on.
- Click the mode button (the three dots) exactly eight times – not too fast, not too slow.
- Hold the mode button to enter the menu. A new option called Factory appears.
- Inside: Speed mode – leave it at Duty. Sensor mode – don't change. Direction – only needed if a new ESC was connected the wrong way. Battery type / cells – leave it (12S on the BLACK Carve 3). Changing it doesn't give more power; it only makes the battery reading wrong.
Not sure if your board needs a full reset? Contact us before changing factory values – see service & repair.
How to Swap Wheels on Your ONSRA Board
Belt drive: change wheels and pulleys
The video shows a BLACK Carve 2 Belt Drive changing from AT wheels to 105 mm Cloud wheels with a 45T ABEC pulley.

Video: How to change the Wheel Setup – ONSRA BLACK Carve 2 Belt Drive
- Tools: 3 mm Allen key, T-tool, and the right belts for your pulley.
- Take off the wheel. Don't lose the nut and the washer.
- Remove the belt cover with the Allen key – only needed when you change pulley size (e.g. 45T to 40T).
- Remove the pulley with the belt: pull it up and turn it, and it comes out by itself.
- To adjust belt tension, loosen (don't remove) the four motor screws, put the belt over the motor pulley, pull the motor outwards to the correct tension and tighten the screws firmly.
- Correct tension: if the belt slips when you brake fully, it is too loose. If it is too tight, the belt wears faster, the motor gets hotter, range drops and the motor pulley bearings can fail.
- Screw the belt cover back on, put a washer on the pulley bearing, slide the new wheel onto the axle until it pops down, add the second washer and tighten the nut.
Changing pulleys or going All-Terrain? Watch How to change the PULLEYS – ONSRA BLACK Carve and How to Setup AT Wheels – ONSRA BLACK Carve.
Direct drive: change the wheels
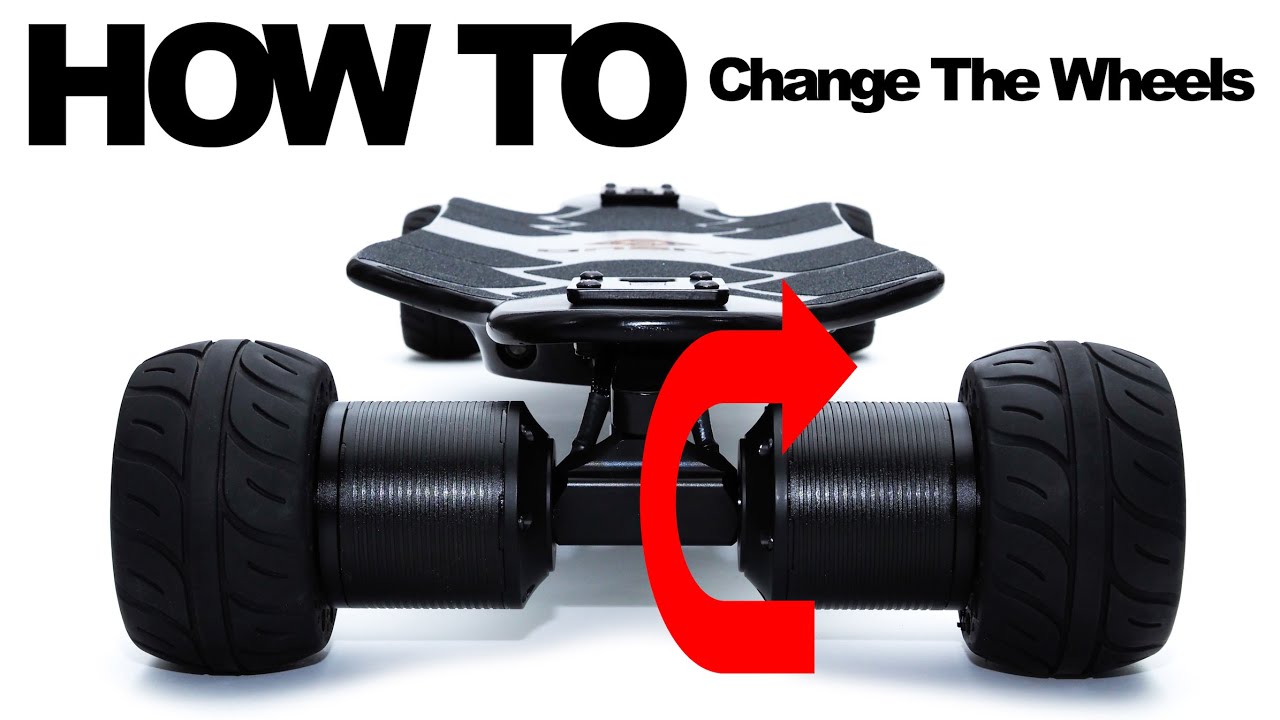
Video: ONSRA Direct Drive Motor – How to change the wheels
The video shows the direct drive wheel coming off after you remove the axle screw. It can be tight the first time. Tips from the video: use a rubber mallet so you don't damage anything, keep track of the washers, and make sure there is no gap between wheel and adapter – remove a washer if there is one. The wheel should still turn freely after tightening.
Replacement wheels from ONSRA:
 115mm Rubber Wheels
 ZENO 75mm Front Wheels 75A
 Complete 150mm HOTA AT Wheel
How to Change a Tire or Inner Tube (Pneumatic AT Wheels)
Flat tire? Here's how we change the tube on the 150 mm All-Terrain wheels in our showroom. Before replacing, you can also try a normal bicycle tire repair kit or tire sealant.
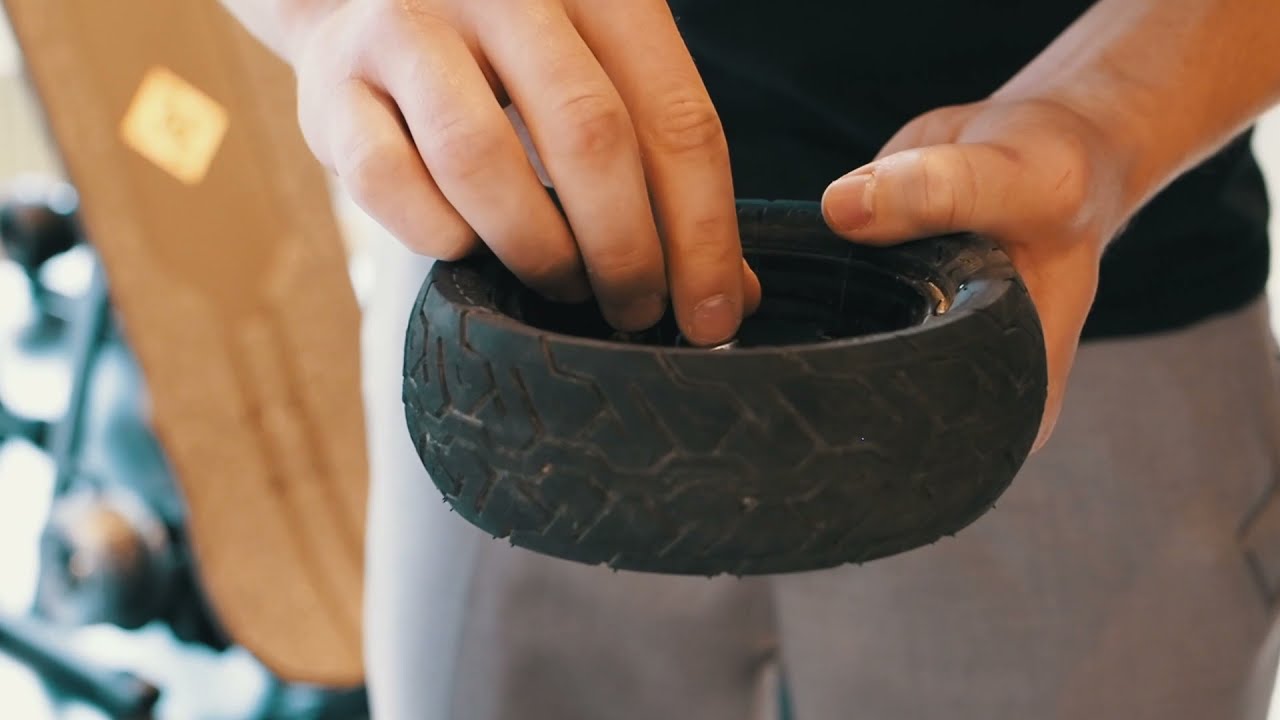
Video: How to Fix a Flat Tire on an ONSRA Electric Skateboard
Step by step (from the video)
- You need the 3 mm tool from the box, a spare tube and a normal bike pump.
- Take the wheel off the board.
- Unscrew the five screws; the nuts come out on the other side.
- Push one rim half outwards, then remove the other. Don't lose the nuts, the screws or the spacer between the bearings.
- Remove the valve cap and let all remaining air out, then take the tube out of the tire.
- Put a little air into the new tube so it keeps its shape, then put it into the tire.
- Line up the valve with the cutouts in the rim, put the bearing spacer back in and join the rim halves. Make sure the tube isn't pinched between the rims – it will fail again over time.
- Put all five screws back in and tighten each nut.
- Pump the tire to the pressure printed on the sidewall – e.g. 350 kPa = 3.5 bar = 50 psi on this wheel – and refit the valve cap.
Harder tires give more range and speed. Softer tires give more comfort and grip.
Flat-proof and heavy-duty tire options
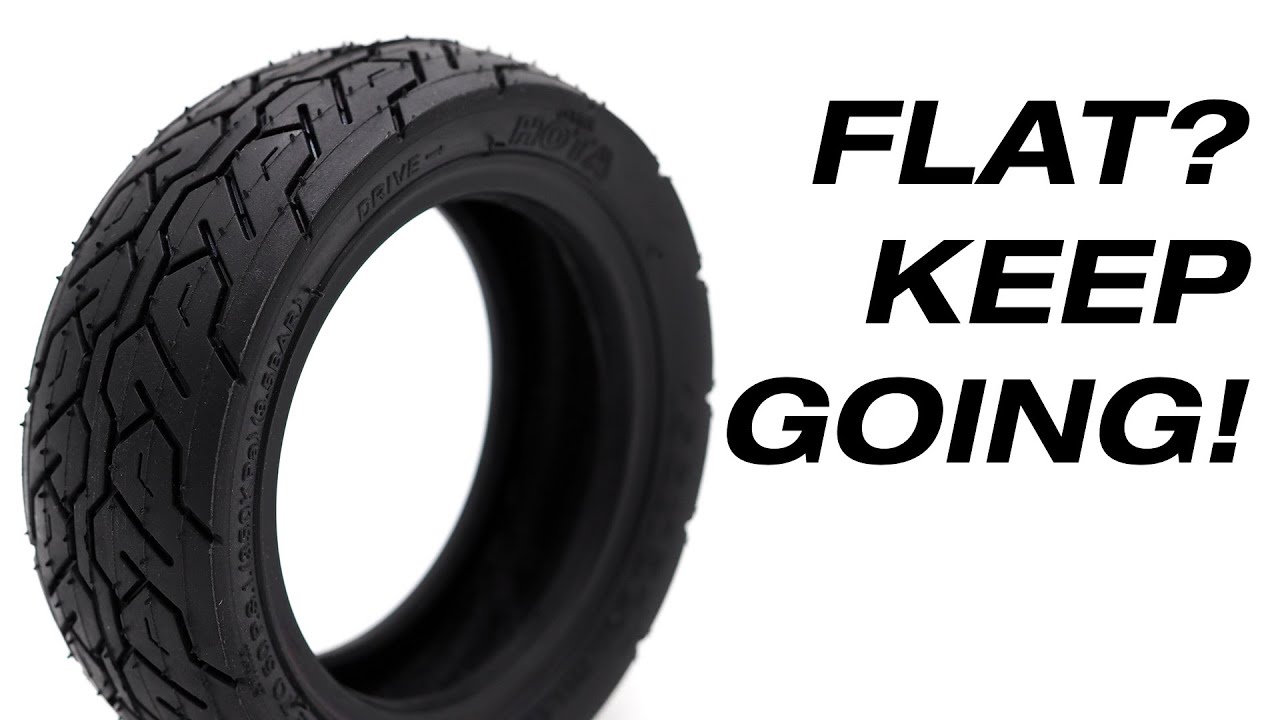
Video: Flat? Keep Going! – Unstoppable Tires for Electric Skateboards
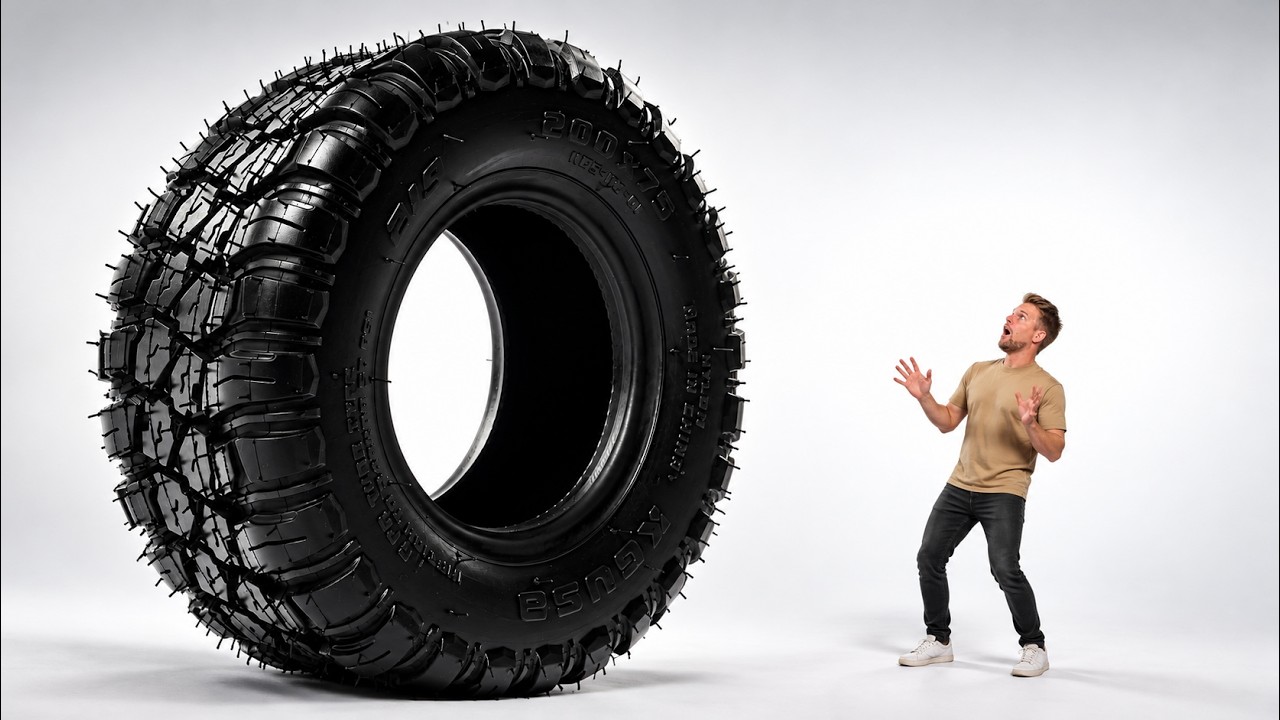
Video: We Put a HEAVY DUTY Tire on an Electric Longboard! – 200 x 75mm
Replacement tires and tubes from ONSRA:
 150mm, 160mm & 200mm Inner Tubes
 150mm & 200mm All-Terrain Tires
 New Generation HOTA 155mm AT Tire
 KGUSA 200 x 75mm Off-Road Tire
 TUOVT 160mm Racing Tire
 165mm Heavy Duty AT Tire
Direct Drive Maintenance
Direct drive motors have no belts to adjust, but the outer motor case (the urethane cover the wheel grips) wears over time. Here's how we replace it, plus a community video with general direct drive care tips.
How to replace the direct drive motor case (cover)
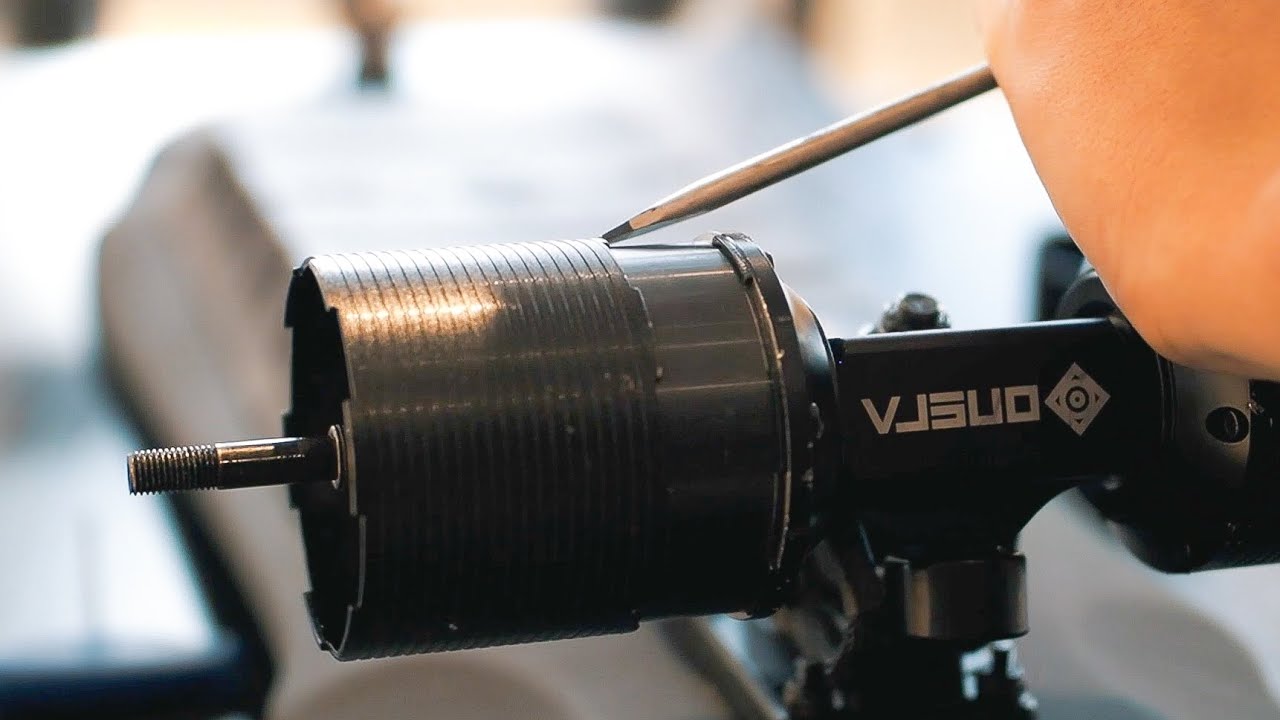
Video: HOW TO make your Direct Drive motors look new again – ONSRA
- Tools: small flathead screwdriver, 2.5 mm Allen key, T-tool, 18 mm key and a hammer.
- Remove the wheel.
- Remove the six screws of the adapter with the 2.5 mm Allen key and take the adapter off.
- Remove the six screws underneath with the same key.
- Using the flathead screwdriver and hammer, carefully tap off the holder ring. Keep it – you'll reuse it.
- Remove the outer motor case the same way, slowly.
- Slide the new case on so the parts fit into each other, and tap it on carefully with the hammer.
- Reverse the process: holder ring, six screws, adapter and its screws, washer, wheel.
Rear bearing plate: the back part that holds the bearing (6905 RS) can also be replaced, but only by removing the motor and opening the enclosure. Only do this if you're experienced, or if the bearing is really loud or badly damaged – otherwise contact us.

Community tips: direct drive care by itsMatt
ONSRA rider itsMatt (Matthew) made a great video with eight maintenance tips for the BLACK Carve 2 Direct Drive. Credit and thanks to him.
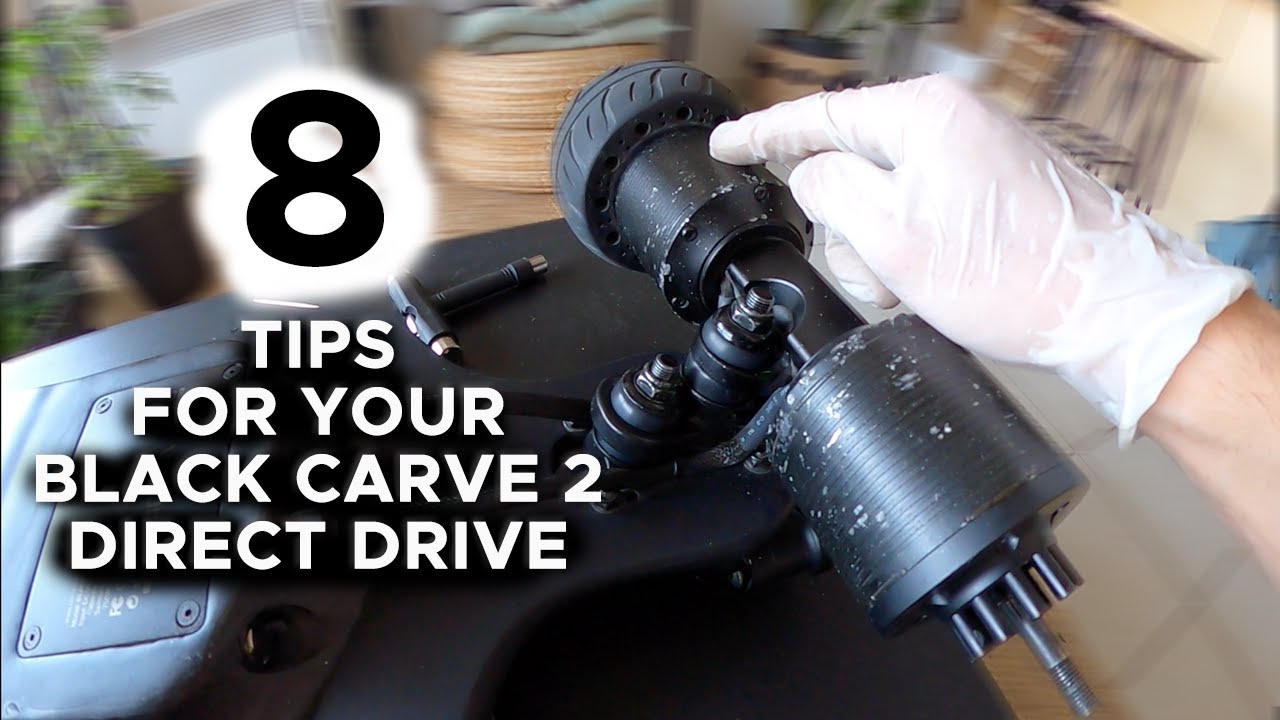
Video by itsMatt: 8 Maintenance Tips For Your ONSRA Black Carve 2 Direct Drive
More Maintenance: Bearings, Trucks and Cleaning
- How to Swap out Bearings on an Electric Skateboard – ONSRA
- ONSRA VELAR – How to adjust the new CNC CHANNEL TRUCKS
- How to change the PULLEYS – ONSRA BLACK Carve
- How to Setup AT Wheels – ONSRA BLACK Carve
ONSRA User Manual
Our ONSRA Electric Skateboard User Manual page collects the core videos: reconnecting the NX remote, Auto Reverse, hidden factory settings and calibration.
More How-To Guides
- Electric Skateboard Maintenance & Care – Keep Your ONSRA Board Performing Like New
- Flat? Keep Going! – Unstoppable Tires for Electric Skateboards
- KG USA 200mm Heavy Duty Tires on the VELAR 2.0
- ONSRA NX Remote – Hidden Features & Precision
- Street vs All-Terrain Wheels – Which Setup Fits Your Riding Style?
- Direct Drive vs Belt Drive – What's Actually Better?
Service & Repair
Stuck? Send us your board model, remote version and a short video of the problem (Dropbox or Google Drive link) through our service form. Your ONSRA board is covered by our 4-year warranty – please check with us before opening the enclosure or changing factory settings.
FAQ
Do I need to pair my remote when my board arrives?
No. Every ONSRA board ships with the remote already connected. Only reconnect if you get a new remote or the connection is lost.
Can I use the NX remote on my BLACK Carve 2?
No. In our factory settings video we confirm that the NX remote can't be connected to older boards like the BC2.
When should I calibrate my motors?
Only after a new motor or ESC, or when the ONSRA team asks you to. Calibration is done in our factory.
Is there a factory reset?
The NX remote has a hidden Factory menu (mode button eight times), but it isn't a one-tap reset to defaults. If you think your board needs a full reset, contact our service team.
Which motor poles do I set when pairing?
7 for belt drive, 10 for direct drive.
What tire pressure should I use?
Use the pressure printed on the tire sidewall – for example 3.5 bar / 50 psi on our 150 mm AT wheel.
How often should I replace the direct drive motor case?
When it's worn or damaged. The rear bearing plate only needs replacing if the bearing is very loud or badly scratched.
Electric Skateboard Racing: The xErace Guide to Classes, Rules & What to Wear
ONSRA VANDAL E-Bike: Why Our Lightweight Electric Dirt Jump Bike Is So Good